Over the past few weeks I've been completing Patrick's final look in increments in order to iron out the last few issues and get him just right.
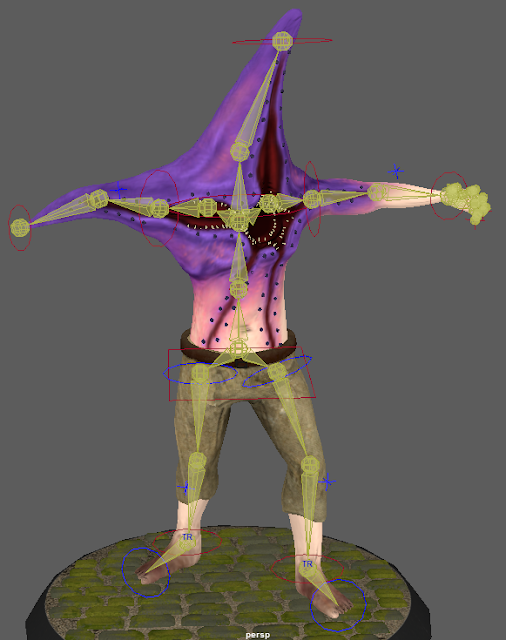
First was the character rigging in order to pose Patrick how I wanted. This was relatively easy, however painting the weights, choosing how and where the mesh gets deformed, was extremely difficult and frustrating.
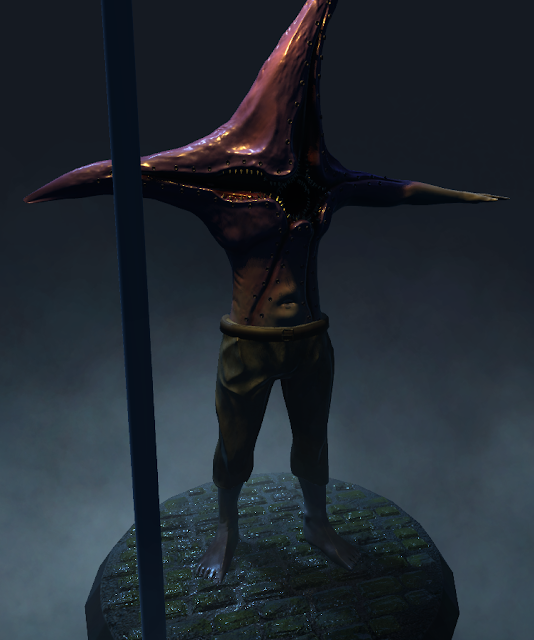
In between doing this, I used a t-pose model in order to create a lighting prototype in Unity itself. I also created a camera rotation script so that the camera would circle Patrick and show off all his gory details.
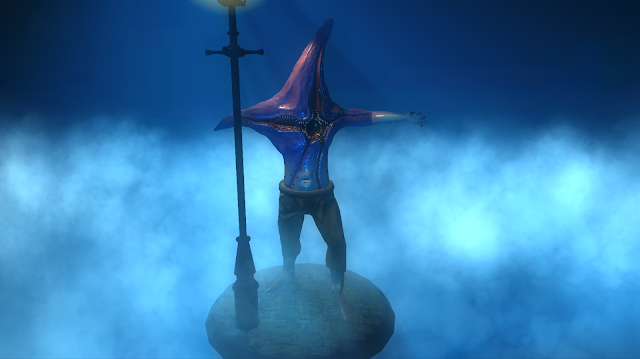
I used the sandstorm from the standard asset effects and changed the colour and density to create a fog effect, and used multiple point lights to enhance the bounce lighting.
To add something to balance out the blue lighting, I made a simple gas lamppost. This also helps highlight the face of the creature.
Once the pose was finished, I finished the scene in Unity and built it ready for hand in.
Art Work and Games Design
Thursday, 21 April 2016
Tuesday, 5 April 2016
Monday, 21 March 2016
3D Pathway - Patrick's Final Sculpt and First Quixel Test
Patrick's sculpting is finally done, and to celebrate I used xNormal to create normal and AO maps so I could begin using Quixel to add some smart materials.
Poly-painted model. My plan is to overlay one of the Quixel "Monster Skin" textures over the top to give further texture and colour variation.
All the elements of Patrick textured in Quixel. The trousers are a nice, simple "worn cotton" material that suits the decaying state of the character.
Poly-painted model. My plan is to overlay one of the Quixel "Monster Skin" textures over the top to give further texture and colour variation.
All the elements of Patrick textured in Quixel. The trousers are a nice, simple "worn cotton" material that suits the decaying state of the character.
Monday, 14 March 2016
3D Pathway - Sculpting Patrick
This past week I have been sculpting the detail onto Patrick in ZBrush. I feel that this is some of my best work and I can't wait to get him poly painted and textured.
After the polypainting I plan to rig my character and then construct a scene in Unity 5 for him.
After the polypainting I plan to rig my character and then construct a scene in Unity 5 for him.
Thursday, 3 March 2016
3D - Diorama First Steps
Today we looked at the first steps at creating a diorama for our 3D assessment. For mine, I want to make a cobbled street, and thankfully today we followed a tutorial on making paving.
First we started by making the basic shape in Maya. We then exported this into ZBrush and used a "Mallet" brush to add chips and deformations. We reduced the polycount with the Decimation Master, created another OBJ and then took the two to xNormal and normal mapped them.
Despite my normals looking wonky, I feel like I know the process well enough to improve on it and should have it done relatively quickly.
Wednesday, 2 March 2016
Sculpting - Sketch and Patrick Practice
Today we had more practice with ZBrush, firstly on inserting other meshes and then I had a quick practice for giving Patrick the Tentacle Horror skin textures.
This is my weird, frog-man sketch. I started with a sphere and then imported some discs for the eyes. It got a bit strange from there.
And now for Patrick.
And now for Patrick.
Whilst I'm happy with the end result of this sketch I feel that I need to subdivide the Maya model more in order to get the deformations to map properly. I also need to use the Cloth tool in Maya to get the trousers onto the model.
Monday, 29 February 2016
Subscribe to:
Comments (Atom)


