Today we looked at DynaMesh in ZBrush, which is the closest to sculpting with real clay as the programme can get.
First, we all loaded a DynaMesh sphere and began using the move tool to modify it. I then used a mix of the clay build up, standard, and smooth brushes to continue changing the model. I also used the Rake brush to create a scar over the creature's left eye.
And here is my final painted creature, a hungry "Squidge".
Wednesday, 4 November 2015
Monday, 2 November 2015
Winter Submission: Sci Fi Rifle - Part 3: Milestone 2
The high poly model is complete! I'm so happy with the results so far, next I'll be detailing in ZBrush and then finally texturing and rendering.
Friday, 23 October 2015
Winter Submission: Sci Fi Rifle - Part 2
Been a while since I last posted - oops.
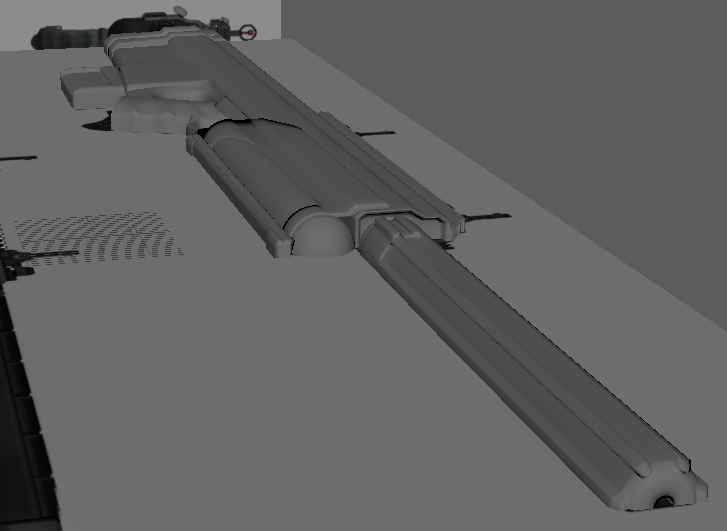
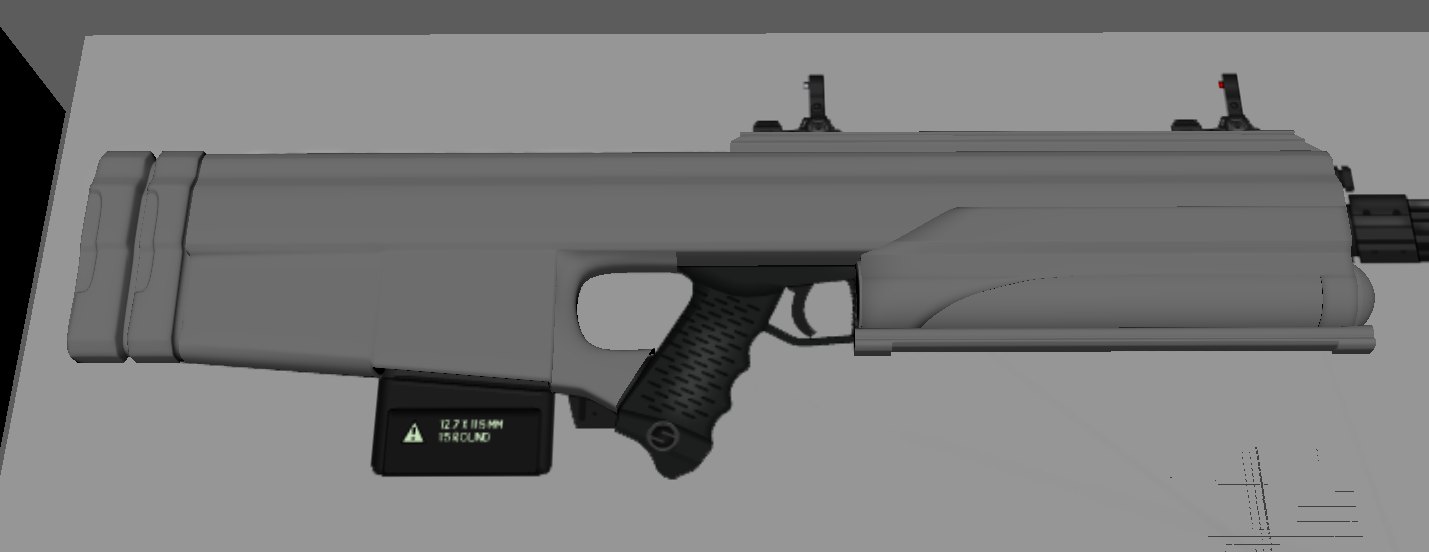
Here's an update on the Maya assignment. This post covers the first 40%-ish of the rifle's base mesh.
I've been focusing on the main chassis of the rifle as it's the fastest and easiest part to do.
The main body and the rear section of the thumb-hole area are cubes that have been cut in half and extruded as I need. The fore-end of the rifle is different though - the housing of the grip is a pipe that I have distorted, and the fore grip is simply a cylinder.
My next update I should have the grip, silencer, magazine and sights ready.
Wednesday, 21 October 2015
Games Production - Prop Designs
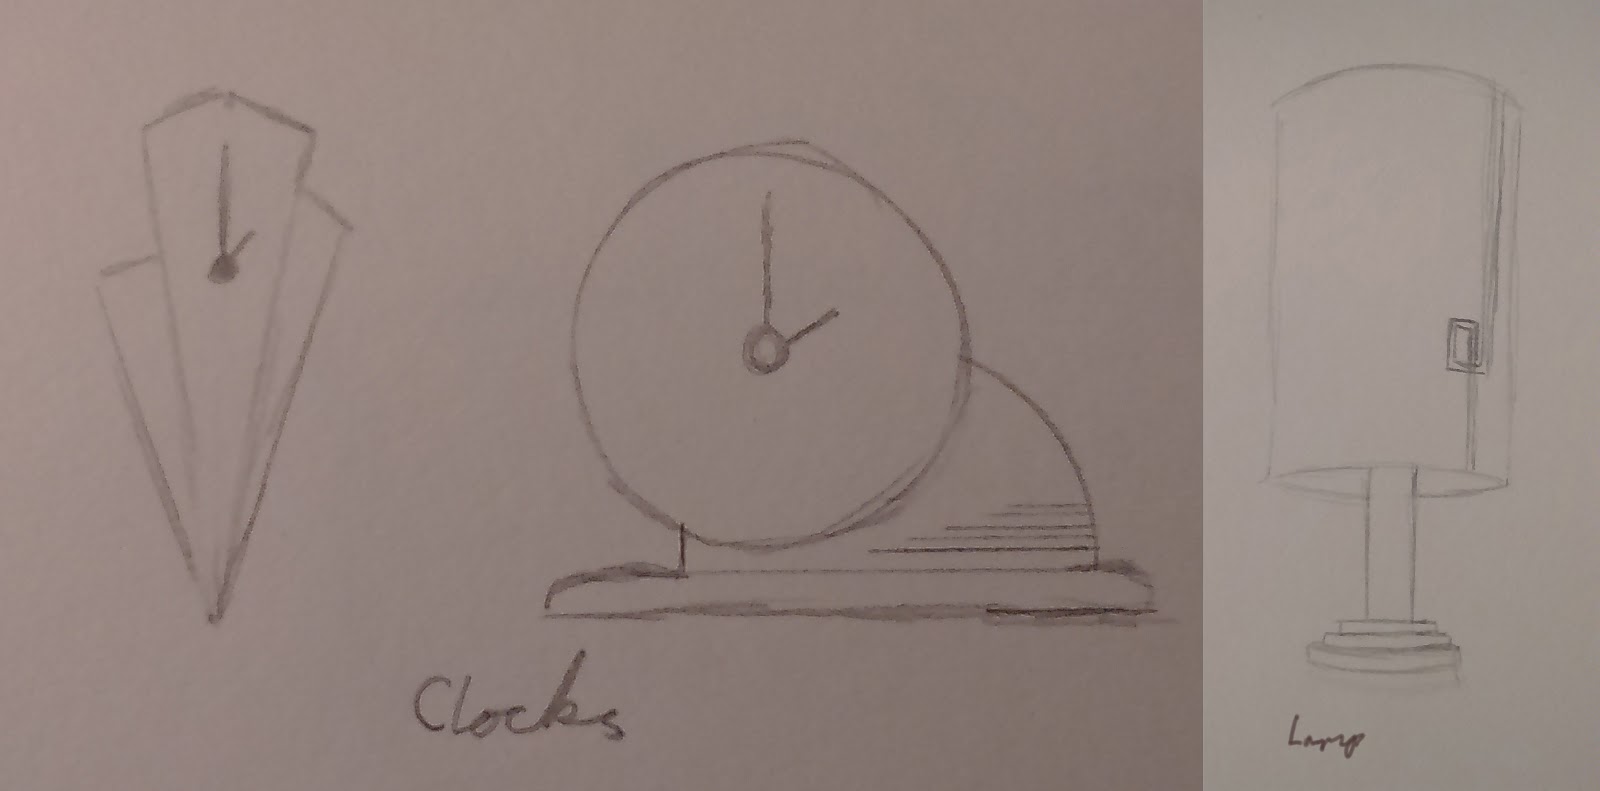
Another update for the game, this time concerning the props I've been making for the game over the last few weeks.
Preliminary sketches for doors, vases, clocks and a lamp.
Wednesday, 14 October 2015
Zbrush - Base Mesh Work Flow
This week we looked at ZBrush in greater detail, recapping the two previous lessons as we finally have enough licenses for the whole class to use the software.
This is the Base Mesh workflow, the easiest work flow for beginners. It starts with a, you guessed it, base mesh made in Maya. In our case, it was a head.
First, I subdivided the model and then began to play with the move tool and standard brush to modify it.
then it was further subdivision and more detail using low intensity brushes using alphas to provide texture.
This is the Base Mesh workflow, the easiest work flow for beginners. It starts with a, you guessed it, base mesh made in Maya. In our case, it was a head.
First, I subdivided the model and then began to play with the move tool and standard brush to modify it.
then it was further subdivision and more detail using low intensity brushes using alphas to provide texture.
Wednesday, 7 October 2015
Games Production - Floor Plans and Camera/Lighting Ideas
Quick update for "Five a Day". Below are the floor plans and overall level layout, complete with some toying around with camera angles and lighting.
My preliminary sketches for scale.
Master Bedroom and Bathroom
Dining Hall and Smoking Room
Entrance Hall
Kitchen
Final Level Layout
Experimenting with camera angles.
My preliminary sketches for scale.
Master Bedroom and Bathroom
Dining Hall and Smoking Room
Entrance Hall
Kitchen
Final Level Layout
Experimenting with camera angles.
Subscribe to:
Posts (Atom)