Tuesday, 1 September 2015

Summer Project - Cyborgs

Boy, it sure has been a while! With first year of uni over and the second about to commence, we've been tasked with creating the concept art, model, and textures for a cyborg character.

I wanted to do something a little different with this project, and try and avoid the military-industrial aesthetic that many sci-fi games have currently. As I was browsing for inspiration, I came across this piece on DeviantArt by Andrea Susini:


This sparked something in my mind, so I went looking for humanoid monsters that would be ripe for turning into cyborgs. I also looked at military drones and industrial styled cyborgs for ways of keeping a recognisable silhouette, but still dehumanise the character.


I settled on one design, which I had christened "Spring Heeled Jack" after the Victorian era supernatural serial killer. I experimented with his design, picked out the best, produced a 3/4, front, and side view, and put them all on a design document along with some world and character building.


Next comes the modelling. I was apprehensive about moving onto Maya 2016 (having been using 2014 all of last year), but it turns out to be vastly easier to use than I imagined. Following the tutorial for what I needed, I set to work.

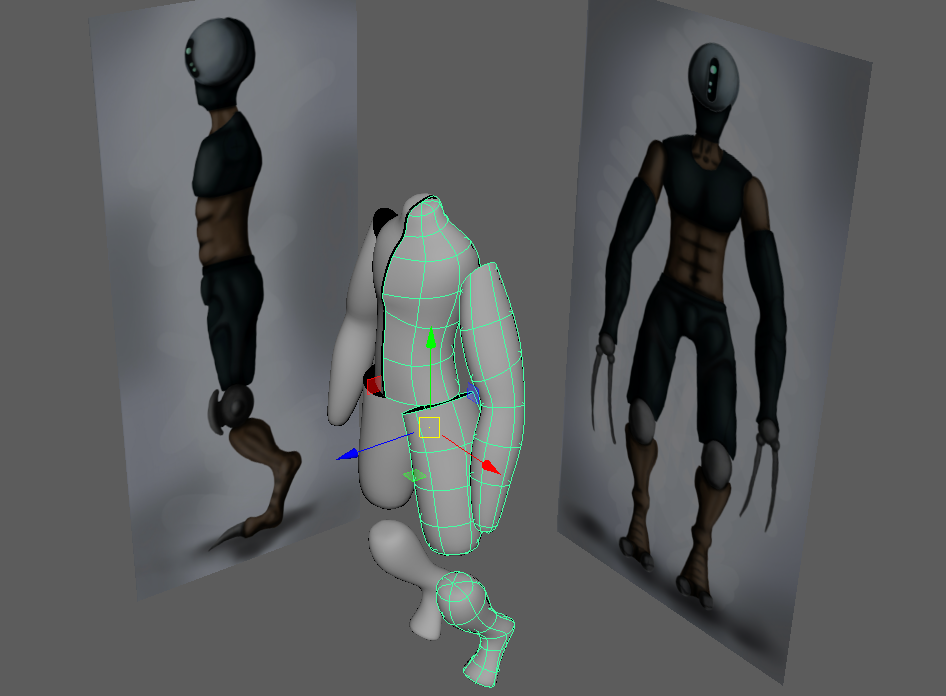


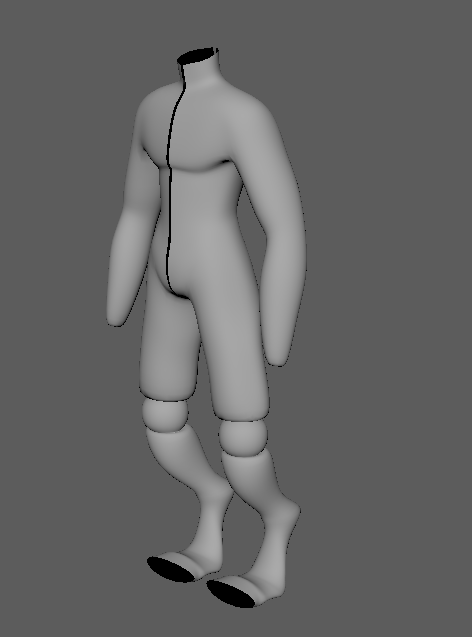


My poly count for the low poly model is 2872. I'm not sure if I'm doing this whole modelling thing wrong or if that's just my sleek design.

Once the low poly model was done, I moved on to do the more detailed high poly model.


The head was the trickiest part to do, as I needed to allow the camera to swivel inside the head. To do this, I created a bowl shape in the head and raised the lip to make it look convincing.


The poly count for the high poly model is 4266.

Thursday, 26 March 2015

Life Drawing - Term 2

This term there was more life drawing sessions , but with more experimentation than last time.


The first session of term was a study of a skeleton, focusing on one major part at a time.
---------------------------------------------


This session started with 5, then 1 minute sketches. Then we moved to negatives - blacking out the paper with charcoal and then using an eraser to create the form. Lastly, I experimented with colour - using reds for shadows, oranges for mid-tones, and yellows for...everything else.
---------------------------------------------


This session was wholly dedicated to speed. We increased our pace from 1, to 5, to 15 minutes over the course of the session. This is not my forte, but I tried my best and I'm happy with the results.

Games Encounters Group Project - "Sortie"

At the beginning of the term we split ourselves into groups to create a game - a flying game! My groups game went for a steampunk style airship game that we called "Sortie".

In "Sortie", the player takes command of an airship and must make their way home whilst avoiding obstacles, and coming under attack from squid-like monsters.

For the art style we went for a low poly look as one might find in games like "Counterspy", "Monument Valley", and "Windwaker HD". This also led us to go with a more colourful palette for the game.

My main contribution was concept and texture art, but I also did some model work, the storyboard of two major mechanics, and a piece of coding.


The storyboard


My colour palette

My concept work:


Balloon mine concept


Airship moodboard and concepts


Debris plan, front, and side view


Architectural moodboard and concepts


Monsters

My model work:


My textures:


Two variations of canvas


Cloud texture


Dirt texture


Grass texture


Rock texture


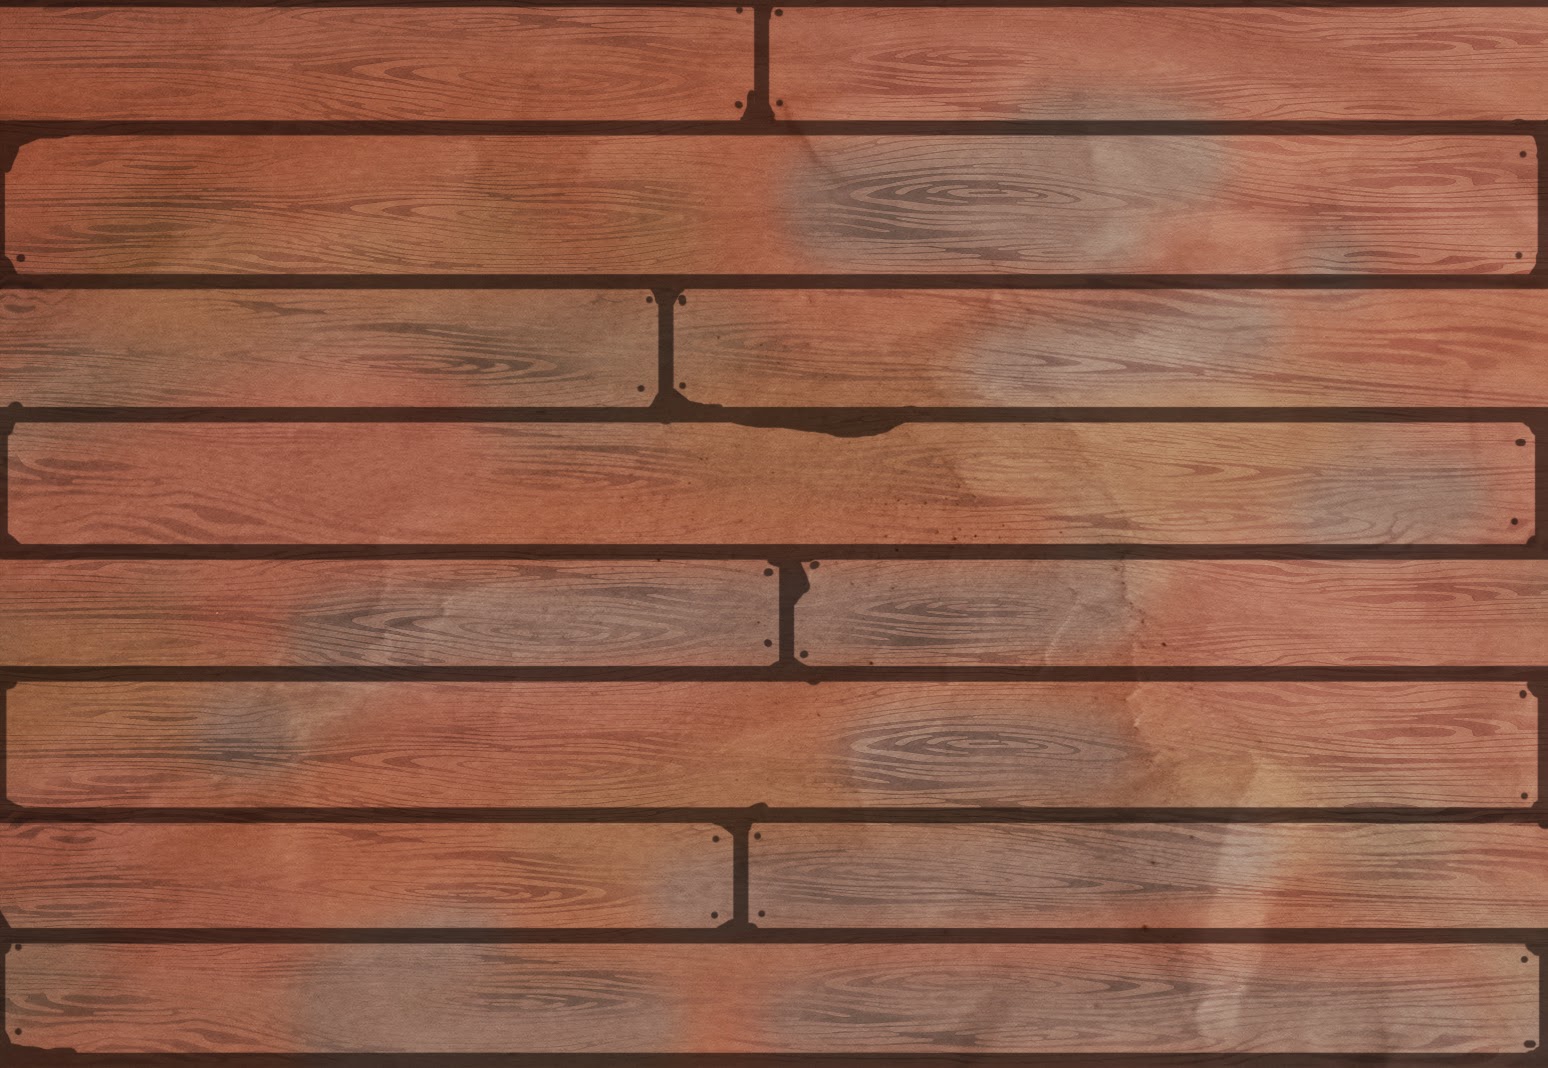
Wood plank texture

Wednesday, 25 March 2015

3D Assessment - Character Model

Well, it is that time again! We have been tasked with modelling a character as accurately as we can whilst keep it to a low poly-count (a limit of 8000 tris to be exact). This is our reference:


I started at the feet and worked my way up to the head. This used the same process as the T-Rex - selecting an edge loop and extruding it into position, then adjusting it according to the reference.


The arms were a little trickier, as I had to create a cylinder and then combine it to the rest of the model. The head was mostly just fiddly, but I can proudly present the finished model:


And now begins texturing. I started splitting the UV edges (not entirely well);


Exported the UV set to Photoshop;


And painted the clothes, skin, and added in the face and other details;


And here is the final, textured model with a tri count of 4196!