Saturday, 14 March 2015

Anthropomorphism - Frogs

This week we practiced our proportion again, this time creating anthropomorphic frogs. By using an animal as a base, we were able to stretch and play with the proportions in order to give the character an identity straight on the paper, rather than relying on a pre-made brief.

I chose to go with tree frogs and poison dart frogs, due to their vibrant colour schemes. The proportions of the tree frog were the basis of my idea; a lanky, tribal type character. I also took some Killer Kroc and TMNT artwork in order to give myself some ideas for the proportions.


I chose the colour schemes I liked the most, made some silhouettes, and had a go at painting them.


The frog in the upper left mainly served as a test for the whole assignment - a test of shading and, specifically the wet shine of a frogs skin. After doing these four, I chose the orange and blue pattern due to its eye catching nature.

I drew a vague design for a boatman in pencil, and set to work.


First, I created a mask and added in the basic lighting and shading I wanted. I chose a back lit style, as I haven't tried that yet.


Next, I did the bounce lighting and the shine of the skin.


In stages 3 and 4, I added the colours and patterns, and added the oar.


Stage 5 was adding details to make him stand out - his eye, tattoos, a bracelet, and a loincloth.


And finally, a background and foreground.


Overall I am very happy with my final piece; I feel that the proportions work well for the most part (the frogs left bicep does NOT look right) and that the creature does not pop out from the background. However, I feel that the background needs some work, and I'd like to find a way to get the tattoos opaque but still stand out.

Friday, 6 March 2015

Steampunk Cavalry Officer

Our 2D assignment over the past 2 weeks has been to create a Steampunk device, vehicle, or character. I hadn't practiced drawing people for a while, so I decided to go for that option.

The idea I had in mind was a balloon cavalry officer - a soldier who jumps out of airships and floats down onto enemy positions. I researched advanced weaponry from the late 19th century and early 20th century, in order for my officer to fit in with the steampunk aesthetic.


I went for a pistol, as officer's were only given pistols and swords at this point in history.

I made some drawings of my pistol, working out how to make the mechanism.


Once I was happy, I painted my final version in photoshop.


Boilers. Cogs. Brass and copper. Looks steampunk to me!

I also did a quick drawing of my officer's uniform, and quickly detailed his balloon pack.


His uniform is based on a Prussian one from the 1870's, with anachronistic helmet from the early 20th Century. With a basic plan, I went ahead and painted him, dropping the pistol into the final piece, and finding an image of a Prussian sword from Google and adding it in.


Wednesday, 4 March 2015

Paint-Overs and Texturing

A couple of days ago we had a session on paint-overs and texturing; giving plain 3D models some colour and finer details using Photoshop.

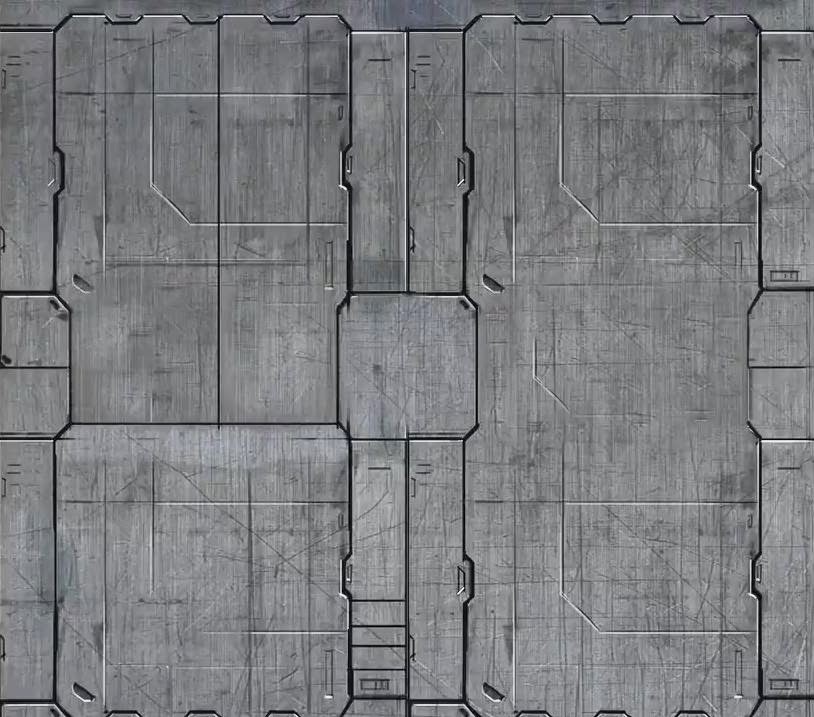
As usual, we started nice and simple, using a screenshot of a pre-made object from Maya, and a sci-fi panel texture.


Using the warp, skew, and perspective tools in the transform options, I was able to come up with this:


Then we had a more free-range task - a photo of a vampire clay model.


The first thing I did was make an overlay layer with some colour - I went for a grey'd out purple tone to give the creature an unnatural feel. Then, I used textures of crocodile and other lizard skins to create a deeper roughness on the skin. I also ported in some zombie eyes and fake gore to give it an "undead" look. However, some of this didn't work out (such as the exposed ribs on the creature's right side). After making the eyes glow, I was satisfied with my beastie.


Thursday, 26 February 2015

Texturing - Alley Exercise

This week we learnt how to make and apply textures using Photoshop and Maya. We were presented with a blank alleyway model in Maya and the templates for the textures, and let loose.


I started with the wall and pavement, and did as is natural for an alleyway - made it look nasty, grimy, and run down. For the concrete frame, I used textures over each other; the green mildew ridden concrete over a cracked and lichen covered concrete for example. Using the eraser I created areas of low detail to contrast this so there would not be a detail overload for the player.

I did much the same for the brick wall - adding in peeling, painted areas from another texture and areas of plaster work. I'm very happy with how it came out.

The concrete pavement was easy and used many of the techniques I used on the concrete areas of the wall. But I used an image of chiseled stone, put it into grey scale, and added it as an overlay to create depth. I added shadows around the drain covers, and it was done.


Next was the barrel, which was simple a wooden plank texture with the chiseled stone overlay. The metal strips were harder, as their placements were not made obvious on the template, but came out looking wonderfully rusty. After that all I had to add was shadow and some flaking paint.


There were other simple things to do as well, such as the drain pipe and slats over the window.


Next up were the bump maps, which involved desaturating the colour of the textures until they were in grey scale. 


Once all of this was done and applied to the model, it looked like this!


I am very happy with the finished result - the textures work well in the flesh, aside from the manhole cover, I fear I added too much shadow to it, but overall I feel this was a success.

Wednesday, 18 February 2015

Maya T-Rex Part 2

The T-Rex project continues! I'm going to combine the process of creating the limbs and the painted final model.

So, the limbs. Making these involved the same process of extruding edge loops as the body did, just on a more intricate level. Getting the front view proportions right was especially difficult, but I muddled through.


And with that, we have the final model!


Next came the texturing, and for that we used Mudbox. Whilst I can appreciate how useful Mudbox is, I could do with a bit practice using it, especially the painting aspects of it. Nevertheless I still gave it my best shot.


Wednesday, 11 February 2015

Lava Monster

This week we were learning how to do glow effects in Photoshop, and what could be a more appropriate topic for this than lava?

First off we started with a bit of experimentation - using painted layers and photos of lava and applying the glow to them.


I quickly found I preferred the look of the glow on the photos, as it would apply the glow within as well, giving a hyper-realistic look to it.

Then we practiced with a paintover of a model; specifically, this one.


I decided to make it so the lava was holding the rocks together as an adhesive, so I started with painting thin strips of orange in between the visible lumps. Adding a glow effect, I then used a yellow to add luminescence, and more orange on a low opacity brush to add bounce light from the background.


I used this as an excuse to mess around with photobashing a background for the piece as well. The foreground (the "stream" of lava) I am happy with, but there is something about the background that does not work so well.


We then were tasked with coming up with our own designs for a lava monster at home. I started with a page of doodles, and took the design I was most happy with.


I chose the floating rocky eye one in the top left, and decided to do three variations of it after finding some really cool boulder references.


Tuesday, 10 February 2015

Maya T-Rex Part 1

Following on from the T-Rex we made in Mudbox, this weeks task was to create one from scratch in Maya.

Back to extruding and edge loops it is.


The head was our starting point, extruding a cube up from the base of the jaw and round to the snout.


Next was the body, which is an edge loop that has been extruded to the full length of the references body, and then its edge loops were manipulated to match the outline.


The flanks of the beast were a little trickier, as we had not front or top view reference. Thankfully, Google images exists.


And this is the end of part 1! I'm becoming a lot faster at working in Maya, and completed this in the three hour lesson.